How to Use Wax Seal Sticks with a Glue Gun (Beginner-Friendly Guide!)
Wax seal sticks with glue gun compatibility are the perfect choice for crafting a large number of wax seals with ease and consistency. Whether you're working on wedding invitations, gift packaging, or branding, this method will save you time while still giving that luxurious handmade look.
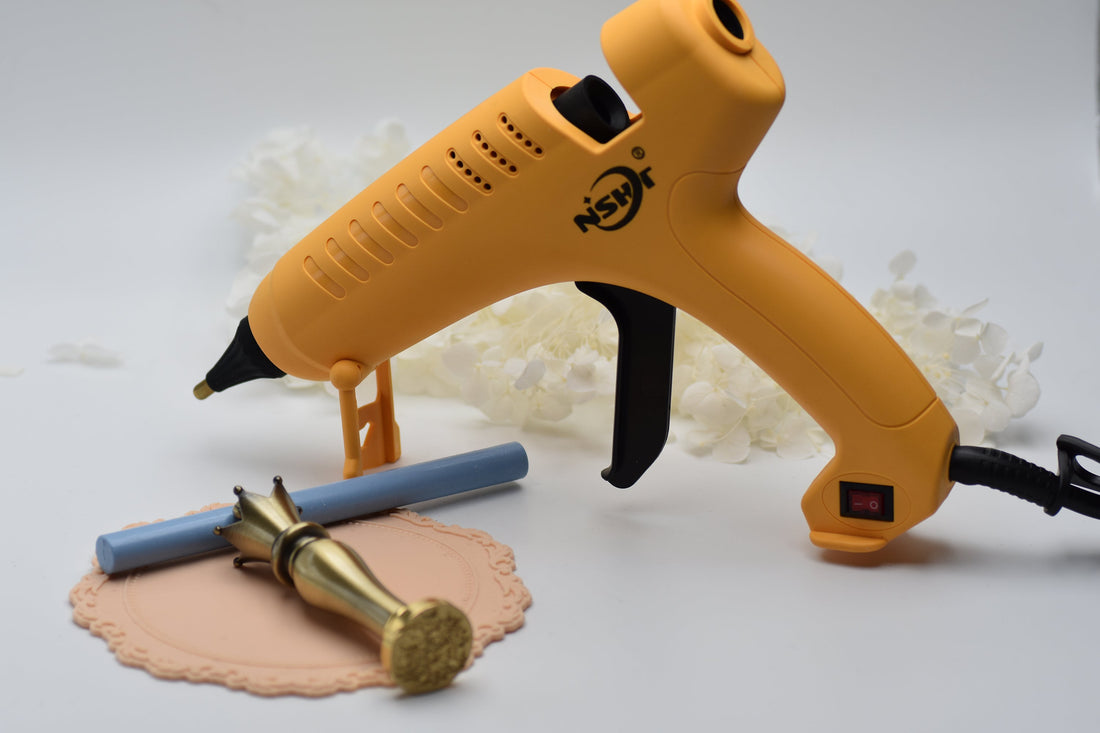
What You’ll Need:
- Wax seal sticks (glue gun type – 11mm size)
- Low temperature glue gun (20–60W recommended)
- Wax seal stamp
- Heat-resistant surface or silicone mat
- Optional: ice pack or cold pack (to cool your stamp between seals)
Step-by-Step Instructions:
Step 1: Prepare Your Workspace
Lay out a heat-resistant mat or a piece of baking paper to protect your surface. Place your wax seal stamp nearby, and if you're doing many seals, keep a cold pack ready to cool it down in between uses.

Step 2: Insert the Wax Stick into the Glue Gun
Use a glue gun that fits 11mm sticks and has a low temperature setting (20–60W). Insert one wax stick into the back of the gun and plug it in. Allow it to heat for 5–8 minutes.
Tip: Don’t use high-temp glue guns as they can overheat the wax and create bubbles.
Step 3: Squeeze Out the Wax
Once the wax is melted, gently squeeze the trigger and let the wax flow out onto your desired surface. One wax seal typically needs a circle of wax about the size of a coin (2–2.5 cm in diameter).

Step 4: Press the Seal
Quickly press your wax stamp into the center of the melted wax. Hold it there for about 10–15 seconds.
Tip: For best results, let the stamp cool slightly before the next use. Press it on a cold pack or a damp cloth to avoid sticking.

Step 5: Lift and Admire!
Gently lift the stamp to reveal your beautiful, clean wax seal.

Clean-Up Tips:
- Keep your glue gun upright when not in use to prevent wax from leaking.
- Let the remaining wax cool inside the gun; you can reuse it next time.
- Use one color per glue gun if possible, or purge the previous color by running the stick until it’s finished.
Perfect For:
- Wedding invitations
- Product packaging
- Love letters
- Crafting projects
- Custom stationery